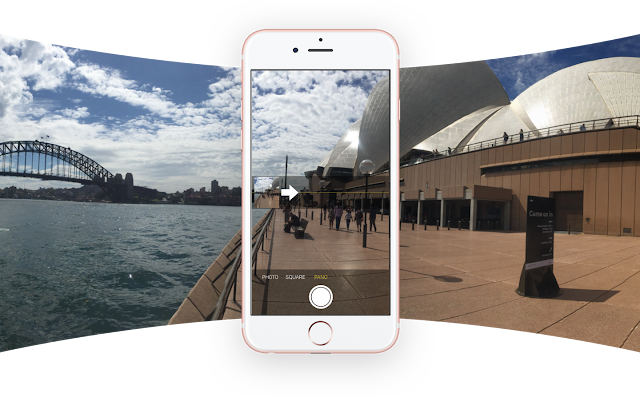
You've undoubtedly come across an interactive photo while browsing your Facebook feed. Such photos instruct you to hold your phone up and move it around to view different parts of the photo.
It's a fun way of viewing so-called 360-degree photos. And would make one believe you need fancy, or expensive equipment to make it happen. The truth is, however, you don't need a special camera or even a 360-degree photo app in order to upload your own interactive picture.
A 360 photo allows you to see the photo from every angle including above, below, behind and next to you. When taking a 360 photo, the field of view will automatically be set to the middle of the photo.
How to Take 360° Photos in Android?
• Once you’ve installed app in your phone, Now open App & tap the Plus icon from the front screen and choose Camera then Open Camera.
• The app itself will guide you through the process of capturing all the images that you need – just make sure you’re staying as still as possible while you move your phone around.
• Now Just You need to move the phone around to find the orange dots that appear on screen. Each photo is taken automatically once the dot is found and the circular tick icon at the bottom will gradually get a circular border as you take all the necessary images. When it turns green then you’re all done.!
• Uploading the 360-degree photos you’ve taken is no different to uploading any other picture to the social network.
• From the status update box, tap Photo and then pick your image, which should’ve been saved to your device by whatever app you’re using.
• On the desktop, click the Photo/Video link.
• Now After Successful Update Open your profile & Check it's working Or Not:)
• In the lower right corner of every 360 photo is a small icon that looks like a radar: this shows you where the perspective is pointing at any given moment.

